Disclosure: As an Amazon Associate we earn from qualifying purchases. We may receive a small commission when you buy through links on this page, at no extra cost to you. We only recommend products we genuinely believe offer value to home cooks.

A Dutch oven for beef stew is the closest thing home cooking has to a sure bet. The heavy, even-heating pot browns meat deeply, holds a low simmer for hours without scorching, and goes straight from the stovetop into the oven. The result is fork-tender beef in a glossy, deeply savory gravy with carrots and potatoes that hold their shape. This guide walks through every stage so you understand not just what to do, but why each step builds flavor.
Why a Dutch Oven Is the Right Pot
Beef stew needs two things a thin pot cannot reliably deliver: a hot, broad surface for a real sear and steady, gentle heat for the long braise. A cast iron Dutch oven, enameled or bare, has thick walls that store heat and distribute it evenly, so the bottom does not burn while the top simmers. The tight lid traps moisture and keeps the meat bathed in liquid. If you do not own one yet, our Dutch oven buying guide explains what to look for in size and material.
Choosing the Right Cut of Beef
The best stew meat is not the most expensive. You want a well-exercised, collagen-rich cut that turns silky during a long braise. Chuck roast, cut into roughly one-and-a-half to two inch cubes, is the gold standard because its connective tissue melts into gelatin and gives the gravy body. Avoid lean cuts like sirloin or round; they dry out and turn stringy. Buy a whole chuck roast and cube it yourself for better control than pre-cut “stew meat,” which is often a mix of trimmings.
Ingredients
- 2.5 to 3 lb beef chuck roast, cut into 1.5-inch cubes and patted dry
- Kosher salt and black pepper
- 2 to 3 tablespoons oil for searing
- 1 large onion, diced
- 3 cloves garlic, minced
- 2 tablespoons tomato paste
- 3 tablespoons all-purpose flour
- 1 cup dry red wine (optional, or extra broth)
- 4 cups beef broth
- 2 bay leaves and a few sprigs of thyme
- 1 lb carrots, cut into chunks
- 1.5 lb Yukon Gold or red potatoes, halved or quartered
Step-by-Step Method
- 1. Dry and season the beef. Pat the cubes very dry and season generously with salt and pepper. Dry meat is the prerequisite for a good sear; surface moisture steams instead of browns.
- 2. Sear in batches. Heat oil until shimmering and brown the beef on at least two sides, working in batches so the pan stays hot. Crowding the pot drops the temperature and you get gray, boiled meat. The dark fond left on the bottom is pure flavor.
- 3. Build the aromatic base. Lower the heat, add the onion, and cook until soft. Stir in garlic and tomato paste and cook a minute until the paste darkens, then sprinkle in the flour and stir for a minute to cook off the raw taste. The flour will thicken the gravy.
- 4. Deglaze. Pour in the wine (or a splash of broth) and scrape up every bit of fond with a wooden spoon. This is where much of the stew’s depth comes from.
- 5. Return the beef and add liquid. Add the seared beef back along with the broth, bay leaves, and thyme. Bring to a gentle simmer.
- 6. Braise low and slow. Cover and cook at a bare simmer, either on low heat on the stovetop or in a 325 degree Fahrenheit oven, for about 1.5 hours. Oven braising is more even and hands-off.
- 7. Add the vegetables. Stir in the carrots and potatoes and continue braising for another 45 minutes to an hour, until the beef is fork-tender and the vegetables are cooked through. Adding them later keeps them from turning to mush.
- 8. Finish and adjust. Remove the bay leaves and thyme stems, taste, and adjust salt. If the gravy is thin, simmer uncovered for a few minutes; if too thick, loosen with a splash of broth.
The Secret to Tender, Not Tough, Beef
The most common stew mistake is impatience. Chuck passes through a tough stage before it becomes tender, so if the meat seems chewy at the 90-minute mark, it simply needs more time, not more heat. Collagen breaks down into gelatin slowly and only at a gentle simmer. A rolling boil actually toughens the muscle fibers and dries them out. Keep the surface barely bubbling and let time do the work.
Variations and Make-Ahead Tips
- Mushrooms and pearl onions stirred in during the last half hour give a classic bourguignon character.
- A splash of Worcestershire or soy sauce adds umami depth without making the stew taste of either.
- Make it ahead. Stew is better the next day; the flavors meld and the gravy thickens. Cool, refrigerate, and reheat gently.
- Freezer-friendly. It freezes well for up to three months, though potatoes can soften, so some cooks add fresh potatoes on reheating.
What to Serve With It
Beef stew is a meal on its own, but crusty bread, buttered egg noodles, or mashed potatoes turn it into a feast. If you love the deep, braised flavors here, our classic Dutch oven pot roast uses the same Dutch oven techniques with a different cut and finish, and our best Dutch ovens guide covers braising basics that apply directly to stew.
Frequently Asked Questions
Can I make beef stew without wine?
Absolutely. Replace the wine with an equal amount of beef broth and a small splash of balsamic vinegar or Worcestershire for acidity and depth.
Why is my stew gravy thin?
Either the flour was skipped or there is too much liquid. Simmer uncovered to reduce, or stir in a slurry of a tablespoon of flour or cornstarch mixed with cold water.
How long does beef stew take?
Plan on roughly two and a half to three hours total, most of it hands-off braising. Rushing the braise is the main reason stew turns out tough.
Do I have to sear the meat?
You can skip it, but you sacrifice a lot of flavor. The browned crust and the fond it leaves behind are the backbone of a rich stew.
Can I make this in the oven instead of the stovetop?
Yes, and many cooks prefer it. After bringing the stew to a simmer, cover and braise in a 325 degree Fahrenheit oven for the most even, hands-off cooking.
Final Thoughts
A great Dutch oven beef stew rewards patience over technique: sear well, build a flavorful base, and let a gentle braise turn tough chuck into something tender and rich. Once you are comfortable here, explore our Dutch oven pot roast, our crowd-pleasing best Dutch ovens for braising and baking, and weeknight-friendly air fryer mains like easy air fryer salmon and tender air fryer chicken breast for more easy, satisfying dinners. And to keep that Dutch oven in top shape, our juicy air fryer pork chops applies to enameled and bare cast iron alike.
Top picks from this guide
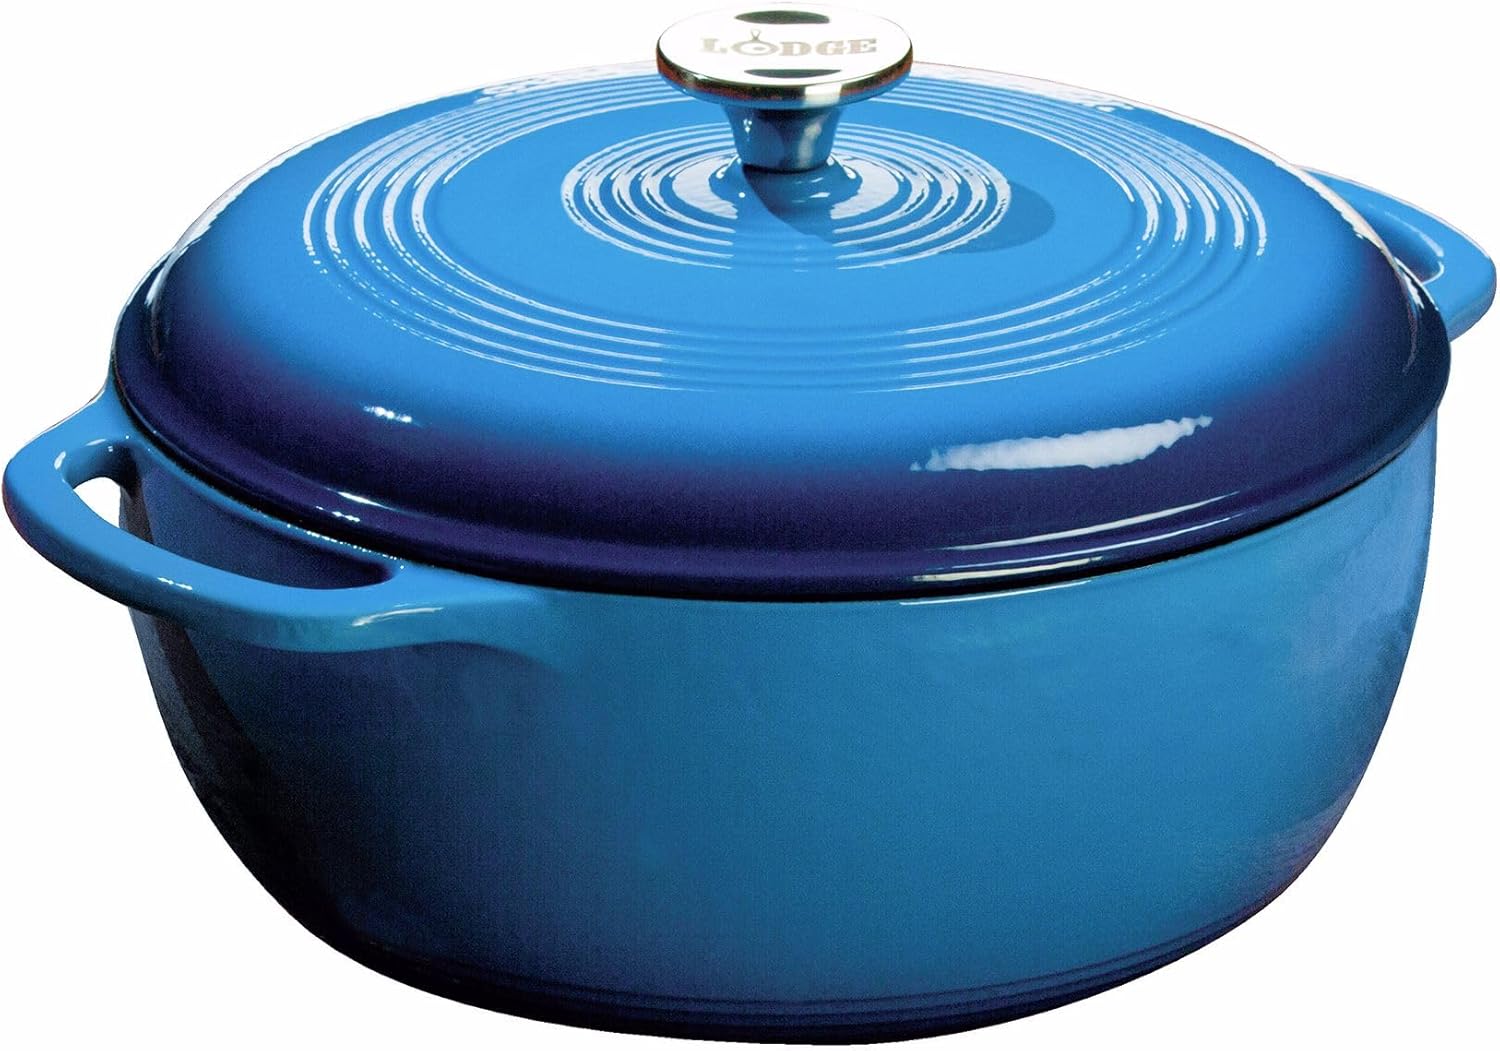 LodgeLodge Essential Enamel Cast Iron Dutch Oven 6 Quarts -…$90 \xc2\xb7 98/100
 LodgeLodge Cast Iron Double Dutch Oven 5 Quart - Pre-Seasoned…$60 \xc2\xb7 98/100
 LodgeLodge Essential Enamel Cast Iron Dutch Oven 6 Quarts -…$90 \xc2\xb7 98/100
 Le Creuset Enameled Cast Iron Signature Round Dutch Oven, 5.5…$290 \xc2\xb7 98/100


Write Your Review
No reviews yet. Be the first to share your experience!